
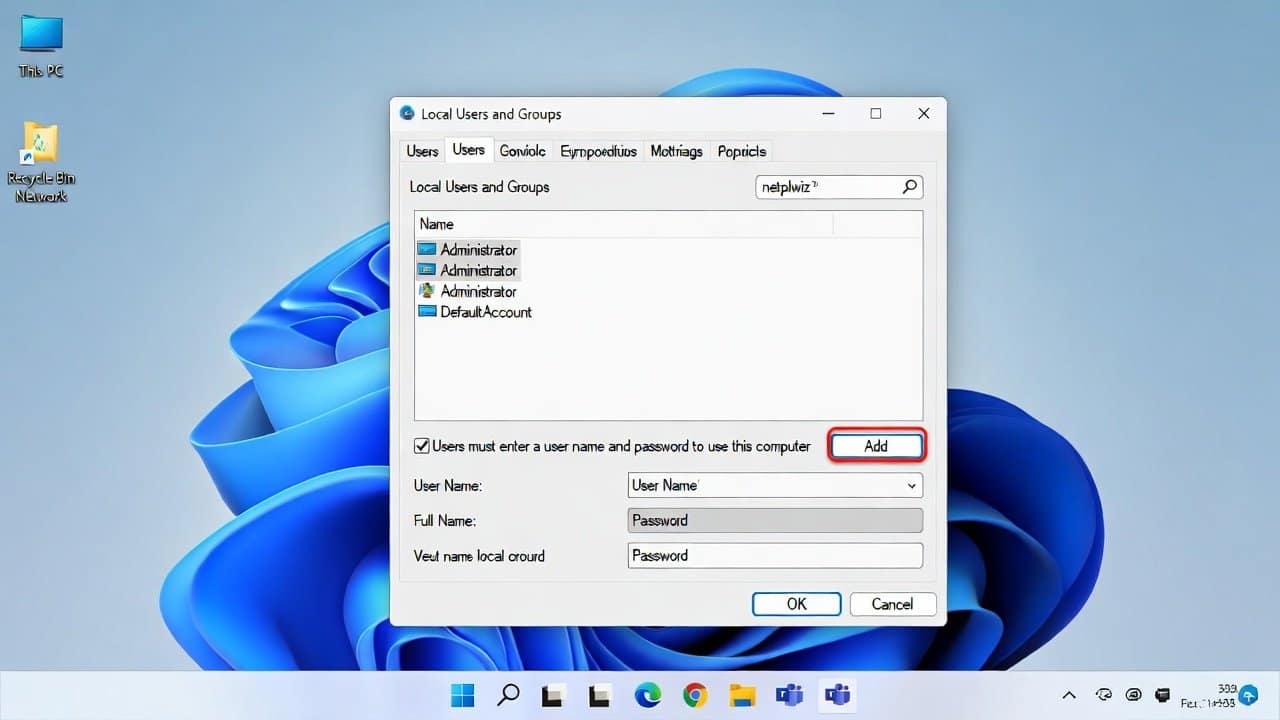
The Windows 11 standard installation process for new PC setups requires users to create Microsoft accounts. This system provides cloud synchronization and application linking services. But many users prefer to maintain their personal information and system operation rights. Everyone wants to keep their privacy on their devices. And for doing this, a local account becomes helpful. A local account provides essential functions. In this blog, we will teach users to make a local account in Windows 11 without Microsoft through two methods. So, let’s get into it.
What Is a Local Account?
A local account enables users to create a user account that exists only on your personal computer system. This account functions independently from Microsoft services. Users’ data remains stored on their devices. Additionally, they do not need to access the internet for login. Also, users’ authentication process requires no internet access, which lets them maintain greater privacy and control over their information. Lastly, it will operate without OneDrive synchronization and Microsoft Store functions.
Methods to Create a Local Account in Windows 11 Without Microsoft
Method 1: Create a Local Account During Setup
If you are setting up Windows 11 for the first time, follow these steps:
- First, begin the Windows installation process.
- Either skip the Wi-Fi connection or disconnect from Wi-Fi when the system requests internet access.
- The installation process continues until the user reaches the account creation screen.
- Then choose the “Sign-in options” menu.
- Choose between “Offline account” and “Limited experience” options.
- Then enter your username and password information.
This method enables users to establish a local account without connecting their account to Microsoft services.
Method 2: Create a Local Account After Setup
Sometimes, your system allows local account creation even after its complete installation. The following steps need to be done.
- Access settings through the main menu.
- Open the “Accounts” section.
- Select “Other users” from the available options.
- Then select “Add account” from the option list.
- Click on the “I don’t have this person’s sign-in information” button.
- Then select the “Add a user without a Microsoft account” option.
- After this, create a new account by entering a username and password combination.
- Your new local account is now available for use.
Switch to the Local Account
The account creation process allows users to easily switch to their accounts.
- Click the Start menu button.
- Select the profile icon.
- Choose the new account.
- Then enter your password for the login process.
- This account can be set as your primary account at any time.
Tips for Better Security
The local account provides users with private access. Therefore, users must practice security measures to protect their account. The following tips should be followed to create secure accounts.
- Create their accounts through strong passwords.
- Do not disclose your password information to others.
- Maintain your system security through regular software updates.
- Activate device encryption protection whenever it exists as an option.
Conclusion
In conclusion, learning how to create a local account in Windows 11 without Microsoft is such an easy task. It is a great way to improve users’ privacy and control. This process becomes fast and easy for users to complete at any time. It does not matter whether you create this account after finishing installation or during the first system setup. The method that you choose will depend on your personal needs. This will lead to a more private and organized Windows experience.