
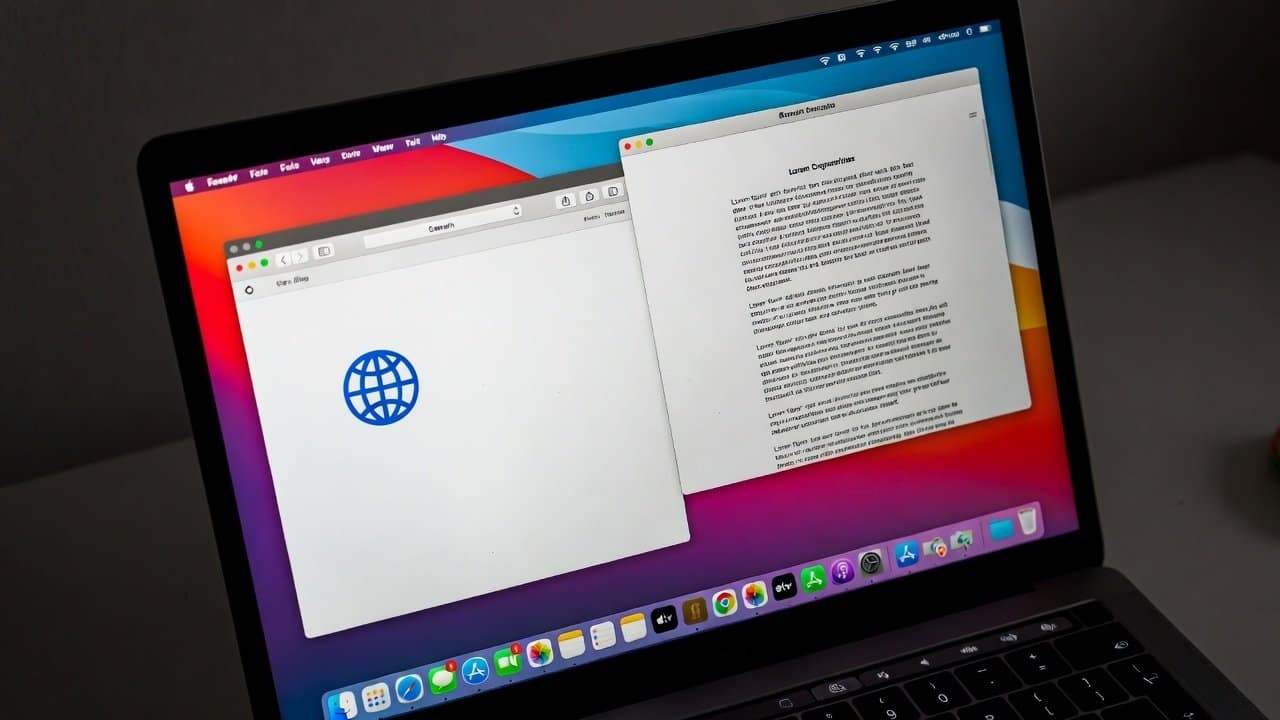
Dealing with multiple apps at once can get tricky real fast. Users might be trying to do different tasks at one time. And because of that, things can get messy. Like they try to write a report while also researching online, comparing two documents, or jotting down notes during a video call. All this work can easily frustrate people. Because of that, constantly swapping between windows breaks their concentration. Fortunately, macOS has this useful feature called Split View. In this blog, you’ll learn how to use Split View on Mac for multitasking and boost your productivity. So, let’s begin.
What Is Split View?
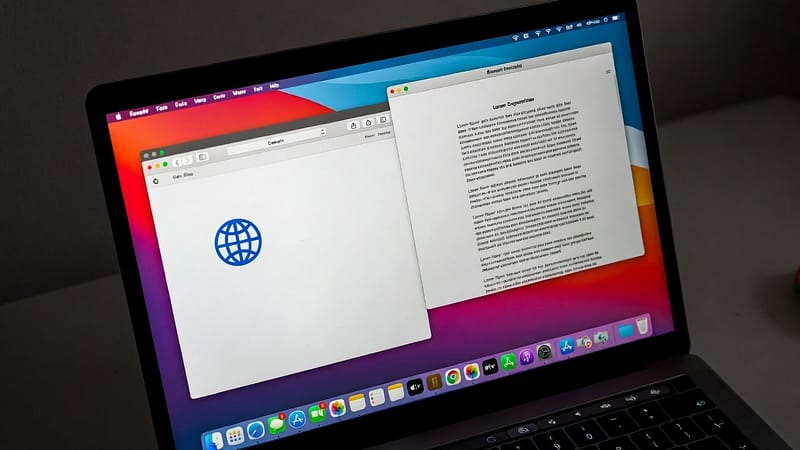
Split View lets you show two apps side by side, like in a full screen. For example, you can bring up the following:
- Safari and Notes
- Microsoft Word, a PDF file
- Mail and Calendar
- Zoom with Google Docs
Users can juggle two apps together without having to manually resize anything.
Steps to Use Split View on Mac for Multitasking
Step 1: Open the Apps You Need
- Firstly, start up the two apps you plan to use at the same time.
- Like you can open Safari and Notes.
- Just make sure both apps are actually running before you move on.
- If they aren’t going yet, wait a sec.
Step 2: Hover Over the Green Button
- Secondly, move your cursor toward the green full screen.
- Tap the top-left corner of the first app window.
- Don’t click right away.
- Hover on the button until a menu shows up.
Step 3: Choose “Tile Window to Left” or “Tile Window to Right.”
- Tile Window to Left of Screen
- Tile the window to the right of the screen.
- Pick one of those; the app should then shift to the side of the display you selected.
- The window will slide over.
Step 4: Select the Second App
- Fourthly, once the first app is set into position, macOS will show you the other open windows.
- Then click the second app you want to use.
- After that, it will automatically slip into the rest of the screen space, neatly.
Step 5: Adjust the Window Sizes
- Lastly, you’ll see a vertical divider show up between those two apps.
- Try dragging the divider left or right to reshape the size of each window.
- This also helps you give more room to the app you use the most.
Best Uses for Split View
Split View is pretty helpful for:
- Research and writing
- Comparing files
- Taking notes during meetings
- Watch tutorials while practicing
- To stay focused and more organized
Conclusion
In conclusion, learning how to use Split View on Mac for multitasking can make your work faster and efficient. It enhances your productivity. Moreover, when you’ve got two apps side by side, you stay locked in, and you can finish more tasks with less time. It makes your double task go smoothly. So, try Split View, and watch your Mac turn into a more powerful productivity tool. For more on this topic, browse our Mac tips.