
Keeping up with subscriptions, purchases, and screen time for everyone in your family can be a lot of burden to handle. But now Apple has found the best solution for this problem. They have introduced the Family Sharing feature, which works better than people expect. Users can have as many as six family members sharing apps, subscriptions, iCloud storage, and more. Additionally, they do not have to use the same Apple ID for this feature. In this guide, you’ll see how to set up Family Sharing on your iPhone with a few easy steps. So, let’s get started.
What Is Family Sharing?
Family Sharing is this built-in Apple feature. It lets people in the family share little by little. It includes:
- App Store purchases
- Apple Music and Apple TV+ stuff
- iCloud+ storage
- Shared calendars
- Photo albums
- Location via Find My
- parental controls through Screen Time
So in the end, each person still has their own account, but they can enjoy those shared services together.
Requirements Before You Start
- Firstly, before you go through with Family Sharing, make sure you’ve got an Apple ID.
- Secondly, confirm you’re signed in on your iPhone.
- Thirdly, your iPhone is updated to the newest iOS release.
- Fourth, check that your Apple account has a working payment method.
- If those little things are right, the whole setup runs pretty smoothly.
Steps to Set Up Family Sharing on iPhone
Step 1: Open Settings
- First, unlock your iPhone.
- Then get into the Settings app.
- Then tap your name at the very top of the display.
- Through this you can reach the Apple ID settings right from there.
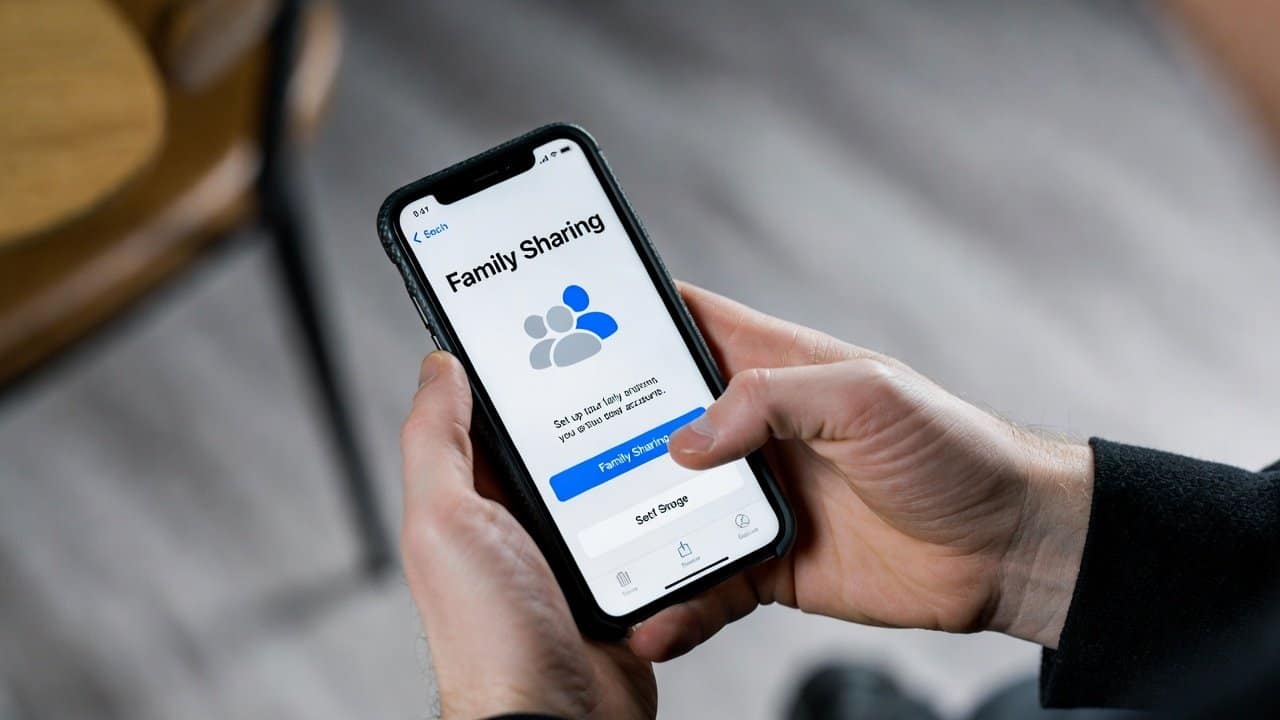
Step 2: Tap Family Sharing
- Secondly, go into your Apple ID settings.
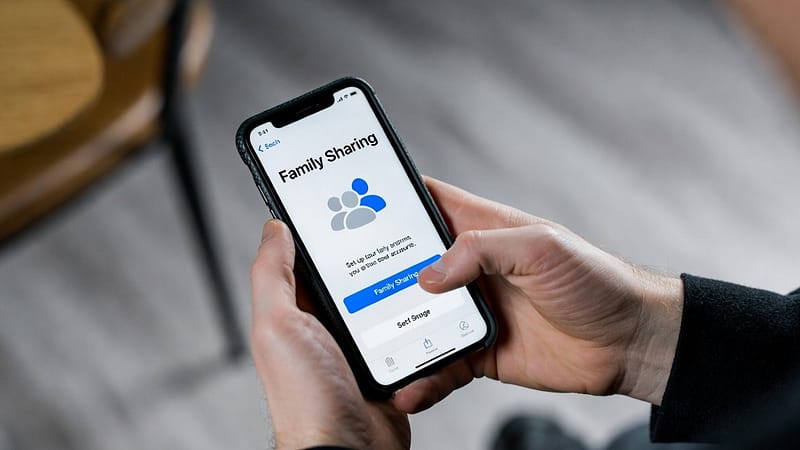
- Pick Family Sharing.
- Then tap Set Up Your Family.
- Apple will guide you through that whole setup step by step.
Step 3: Choose Features to Share
Thirdly, pick the services you want to share, like:
- Purchases from the App Store
- Apple subscriptions
- iCloud storage
- Location sharing
You can also adjust these choices whenever you want.
Step 4: Invite Family Members
- Fourthly, you can invite new family members.
- Tap Invite People.
- You can send invites using iMessage, email, or AirDrop.
- Type in the Apple IDs of the friends you want to include.
- Everyone needs to accept the invitation; otherwise it won’t work.
Step 5: Set Up Parental Controls
- Fifthly, if you add children, you can turn on Screen Time and Ask to Buy.
- These features let parents approve:
- App purchases
- Set content limits
- Keep an eye on how devices get used.
- In the end, it helps children stay safer online, even when they just browse a bit.
- For locking your child’s iPhone to a single app, see our guide to using Guided Access for kids.
Step 6: Confirm Shared Features
- Lastly, once family members join, make sure everyone can reach shared subscriptions and purchases.
- You can handle members and settings anytime from the Family Sharing menu.
Useful Features of Family Sharing
Family Sharing consists of many useful features. These features include:
- Shared photo albums
- Shared calendar events
- Device location tracking
- Subscription sharing
Conclusion
In conclusion, figuring out how to set up Family Sharing on an iPhone is a smart move. It sort of helps to smooth out digital life for the family. Further, users can do it with just a few steps. After using these steps, users are able to share purchases, subscriptions, and a handful of helpful features. Moreover, they can still keep everyone’s accounts separate and private. So, go ahead and set it up, then have a more connected, more orderly Apple experience. For more on this topic, browse our iPhone tips.