
Building a web app used to mean you needed coding skills, developers, and also a big budget. But honestly, things have changed a lot. Now you can craft really powerful web apps without writing any code at all. There are many tools that are now present online that will let users develop professional-level apps. Additionally, one of the most popular tools people use is Bubble. In this blog, you’ll learn how to use Bubble for no-code web app creation in a simple and kind of practical way. So, let’s get into it.
What Is a Bubble?
Bubble is a no-code platform. It lets you visually design, build, and launch web applications. Instead of writing code, users can work with drag-and-drop elements and workflows. This makes development work flow so smoothly without any worry about coding developers and high-end budgets. Because of this, not only beginners but also people who are non-technical can generate complete apps that actually work.
Steps to Use Bubble for No-Code Web App Development
Step 1: Create an Account
- First, start by going to the Bubble website.
- Then sign up for a free account.
- Once you log in, you will land in the Bubble editor. Here users can actually start crafting their app.
- The interface might seem pretty difficult at first, but it gets simpler pretty quickly as you practice.
Step 2: Choose a Template or Start from Scratch
- Secondly, Bubble gives you templates for all kinds of app ideas, like:
- Marketplaces
- social networks
- booking systems
- SaaS dashboards
- If you’re new to this, then honestly it can be smarter to start from a template first.
- This is because it saves time and also helps you grasp the overall structure faster.
Step 3: Design Your User Interface
- Thirdly, users can design their app visually, in a way that feels right according to their requirements and preferences.
- With the drag-and-drop editor, users can add little bits like
- Buttons
- Text fields
- Images
- Forms
- Users can also choose colors, fonts, and layouts so they match their whole concept.
- This part lets you shape a clean, good looking, and user-friendly interface , without too much hassle.
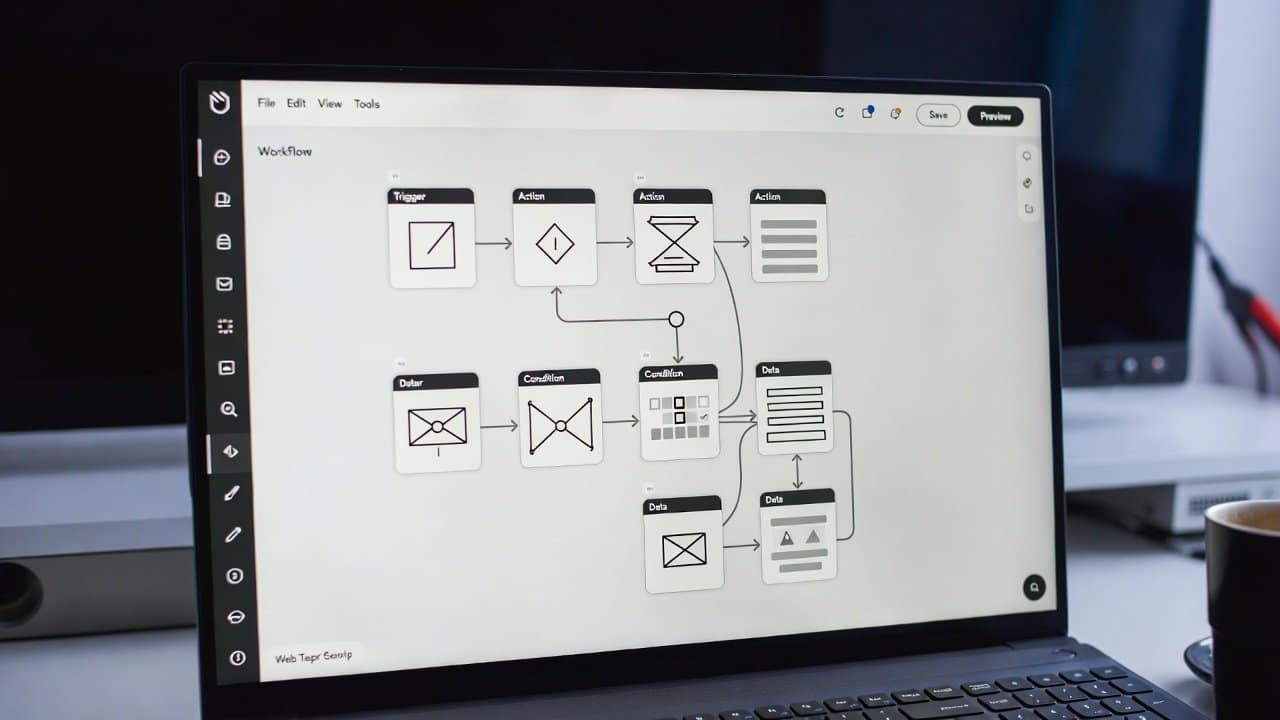
Step 4: Set Up Workflows
- Fourthly, workflows are kind of the logic sitting behind your app.
- For instance, you can put in place rules like when someone
- clicks a button
- shows a message
- when a form gets submitted
- saves the data
- when a user signs up
- send an email off.
- So with those workflows, your app ends up more usable; it stays functional without having to do coding.
Step 5: Manage Your Database
- Fifthly, every app needs data storage.
- In Bubble there’s a built-in database where you can store
- User accounts
- Messages
- Product listings
- App content
- Then you can combine your UI with that database using workflows.
Step 6: Test Your App
- Sixthly, before you launch, always test your app a bit.
- Check the buttons and navigation, forms, and data saving too.
- Also watch mobile responsiveness.
- If something feels off, fix it right away, so you get a smoother user experience in the end.
Step 7: Launch Your Web App
- Lastly, once everything is ready, you can launch your app.
- Bubble lets you publish your app with a custom domain, so it’s not just a random link.
- You can also step up and upgrade to more advanced tools for better performance.
Conclusion
In conclusion, learning how to use Bubbles for no-code web app development can be really helpful for non-developers too. Because this app does not need any coding skills or a professional developer. Bubble makes web app building kind of accessible to everyone. Moreover, with its drag-and-drop editor, workflows, and database tools, users can create capable apps without actually typing a single line of code. So, start using Bubble and bring your ideas to life faster than before.