
Is your Windows computer slowly running out of storage? Yes, then you also might know what the cause of this problem is. Big files can hide in odd places inside folders. And then it gets kind of hard to find them by hand, at least without spending forever looking for them. But now there are many simple free tools that basically show you what is actually chewing up your disk space. TreeSize is one of those amazing tools. In this blog, you’ll learn how to use TreeSize free to find large files in a quick way. So, let’s get started.
What Is TreeSize Free?
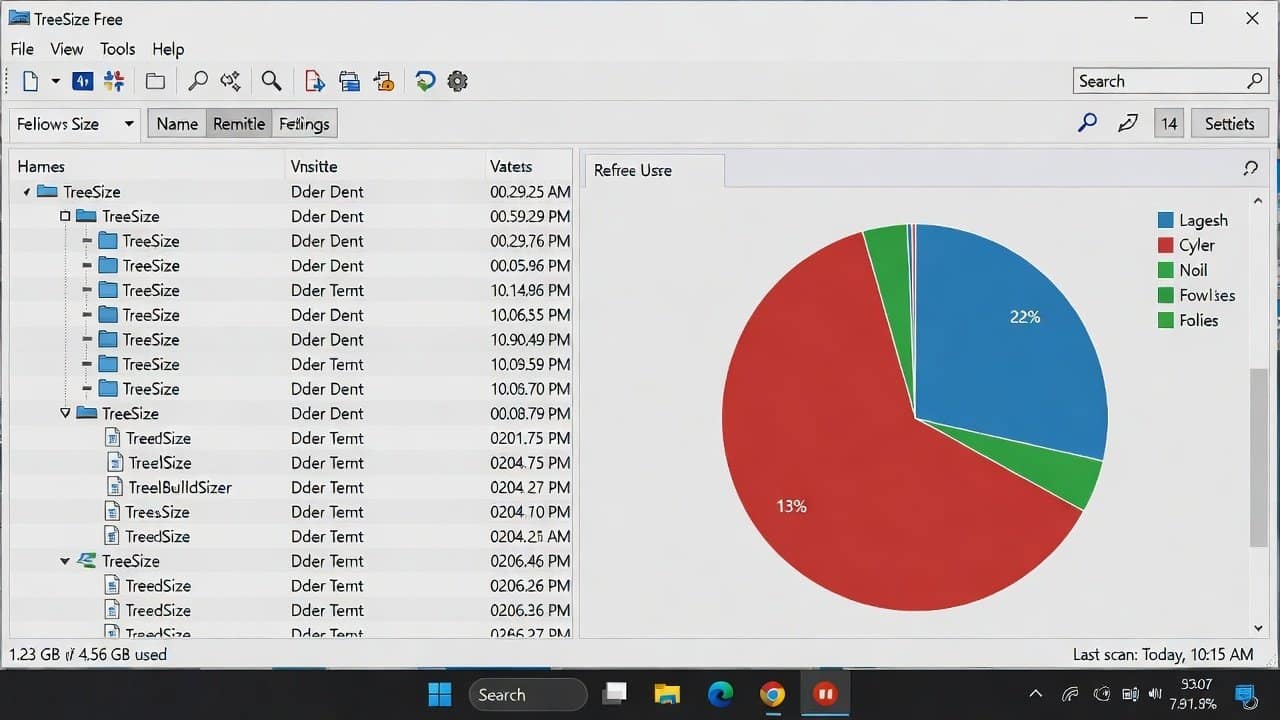
TreeSize Free is a free Windows utility. It does a scan of your drives, and it shows folder sizes in a kind of easy-to-read tree view. Also, instead of just guessing what files are actually eating up space, TreeSize Free brings up the largest folders and files quickly. Lastly, it helps users to tidy up their system much faster. For more on this topic, browse our Windows software guides.
Steps to Use TreeSize Free
Step 1: Download and Install TreeSize Free
- First, go and check out the official TreeSize site.
- Grab the free version and install it onto your Windows machine.
- The whole setup step takes just a few minutes.
Step 2: Launch the Program
- Second, after the installation, open TreeSize Free.
- Then right-click the icon and pick “Run as administrator.”
- After it grants the program permission to scan all folders.
Step 3: Select a Drive to Scan
- Third, click the drive that you want to dig into, like your C: drive.
- TreeSize will scan the picked drive and calculate the folder sizes.
- Depending on how much data there is, the scan might take a couple of seconds or a few minutes.
Step 4: Sort by Size
- Fourthly, after the scan is done, TreeSize shows the folders in a sort of descending order, by the amount of space they use.
- You’ll see the biggest folders right at the top.
- Then, expand each folder to go deeper and track down the exact files that are taking up the most space.
- That way it’s pretty simple to recognize:
- Stale downloads
- video collections
- Old backups
- Duplicate files
Step 5: Review Large Files Carefully
- Fifthly, before you delete anything, take a look first just to make sure the files are still needed or not.
- Go through the data in a careful way; otherwise it’s kind of easy to delete something important.
- Also, try not to touch system folders unless you really know what’s inside them and how it all works.
- This is because that can cause issues later, even if it seems minor at first.
Step 6: Delete or Move Files
- Lastly, once you’ve spotted the files you don’t really need, you can go ahead and either delete them or transfer them to an external drive.
- Users can also upload them to cloud storage for backup.
- In this way the available space goes up, but it won’t mess with any vital stuff or essential data.
Useful Features in TreeSize Free
TreeSize Free kind of includes a bunch of helpful tools, like the following:
- Percentage bars that show folder sizes
- Search filters for large files.
- Detailed file information
- Quick rescanning option.
Conclusion
In conclusion, learning how to use TreeSize Free to find large files is such an amazing task. It is one of the easiest ways to get some disk space back on Windows. Additionally, with a quick scan, you can see what is really eating storage. After that, you remove things you no longer need and free up your drive storage. Just install TreeSize Free and keep your computer tidy, organized, and moving along smoothly.