
Technology has made everything so easy. There is a time when scanning some documents feels so difficult. And with such advanced development, users can now scan documents without needing a physical scanner. The current digital world has totally changed the perspective of scanning. Smartphones can easily do this job in just a few seconds. Additionally, the phone camera becomes a strong scanning tool. It lets users scan notes, receipts, and essential documents. In this blog, we will teach you how to scan documents with your phone camera through a simple yet effective method. So, let’s get started.
Choose the Right App
To scan documents properly, you need a good app. Google Drive, Microsoft Lens, and Adobe Scan are some of the good document scanning applications. Further, these applications provide free access to users. They are highly user-friendly. They offer automatic document cropping features, text recognition capabilities, and PDF conversion tools.
Steps to scan documents
Step 1: Open the Scanning App
- First, start the application that you have selected on your mobile device.
- Then go to Google Drive and follow these steps:
- Tap the “+” button.
- Select “Scan”.
- After this, the camera will open and ready to capture your document.
Step 2: Position the Document
- Secondly, place your document on a flat plain surface.
- Follow the following requirements for better results:
- There should be good lighting.
- The document needs to be visible.
- The camera must remain stationary.
- These factors enable the creation of a precise and sharp image.
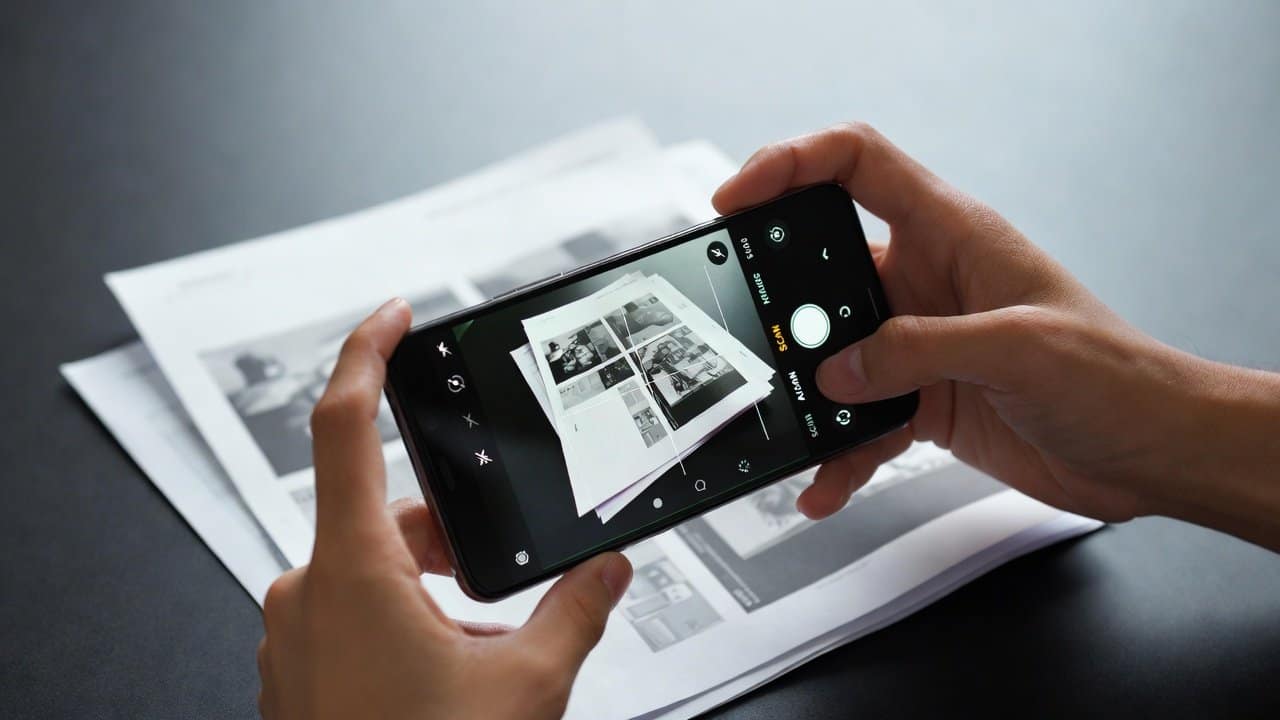
Step 3: Capture the Image
- Thirdly, direct your camera toward the document for the purpose of taking a photograph.
- Most applications have the ability to identify document boundaries and proceed with document scanning.
- It provides automatic document detection.
- Still, users have the option to make manual adjustments whenever necessary.
Step 4: Edit and Adjust
- Fourthly, users can make changes to the scan after they have captured it.
- It provides the most common options, which includes three different functions.
- It allows users to cut the document borders.
- Also, it enables users to change the document’s brightness and contrast settings.
- Lastly, it allows users to turn the document at different angles.
- These features work together to create better scanning results.
Step 5: Save as PDF or Image
- Fifthly, users can save their document after scanning.
- Most applications provide users with the ability to save their work as either PDF files or image files.
- PDFs as documents for distribution and printing purposes is an effective format.
- It allows users to change its name, which will help them find it later without difficulty.
Step 6: Share or Store the Document
- Lastly, users can send their scanned document through emails, messaging apps, and cloud storage services.
- They can also store it on their device or upload it to services like Google Drive for backup.
- The app system protects their documents from unauthorized access.
Tips for Better Scanning
The following simple tips will provide you with better scanning results.
- Work in natural light or a room that has bright illumination.
- Keep your hands in a stable position.
- Eliminate all shadows that fall on the document.
- Clean your camera lens.
Conclusion
In conclusion, the use of phone cameras to scan a document represents a useful practical skill. This skill can assist people throughout their daily activities. Everyone should know how to do scanning with a given step, as it makes the scanning process easy. Furthermore, the process of scanning documents with an app becomes effortless. It is because users need to follow basic steps after they choose the right app. With this, your phone can become a scanning device. This will help you complete your work tasks more efficiently and maintain better organizational control.